How to Make Your Own Mobile App: A Step-by-Step Guide for Beginners
Have you ever wondered how the apps on your phone work? How do they know where to send you when you tap a specific icon? How are they created in the first place? How easy is it to make it?
Let’s say you want to make your own app. So, where do you begin?
So let’s go on a journey through the app development process.
1. Idea
The first step in mobile app-making is to come up with a concept. When you have an interest in a particular subject, whether it’s games, business, or children’s apps, there’s a lead right there.
If you already have a fresh approach, that’s fantastic! But it’s also fine if you’re still working on it. There is tons of homework you can do and many inspiration platforms like Pinterest, Dribbble, and Behance to figure out your app idea.
For example, You can do research on existing apps of your interest. What are the things you like most about them and what you wish was better? Maybe you could create an app that is a better version of your favorite app.
Or, perhaps you could base your concept on resolving problems that you encounter on a regular basis. For example, an app that generates gift suggestions for your loved ones based on the occasion, their preferences, and their dislikes. Let’s call it “Gifty”. I can already think of at least eight people who could benefit from using that app.
2. User research
Now we must determine who this app is intended for. Who are the product’s users and targets? Not only that, but we also need to do some market research to see if there are any similar apps on the market, as well as user reviews and impressions. Spend some time looking through similar apps and their ratings in the app store and play store.
To get a clearer picture, download some apps and try them for yourself. Note down things like its features, layout, design, and flaws too. Deconstruct their idea and see if there’s something you can work with. This will take some time and patience but it’s very important to understand your app.
3. Listing the features
Let’s talk about the features of your app now that you’ve got it. Before we go any further, it’s important to make a list of the features. So grab a pen and paper, and use your imagination to give your dream app superpowers. But don’t push it too far. Because this is your first attempt, concentrate on what your app is for and which feature best supports it. For the time being, this should suffice.
For now, features of Gifty would be:
- You can sign in using your facebook, email or phone number.
- You can save your friends and family profile with their likes and dislikes.
- You can choose occasions.
- You can choose a budget.
- After the gift suggestion, gifty will even recommend sites where you can buy them.
4. Designing app mockups
Let’s think about app mockups now. This is a representation of your app’s basic block diagram. What will your users see when they open the app, and how will they interact with it? You can get ahold of it in three simple steps:
- Screen listing:
Make a list of all the screens your app will have. You choose the screen based on your app’s features. Make a note of the names of the screens and perhaps draw a block. Eg: Login page, add profile, information form, results, etc.
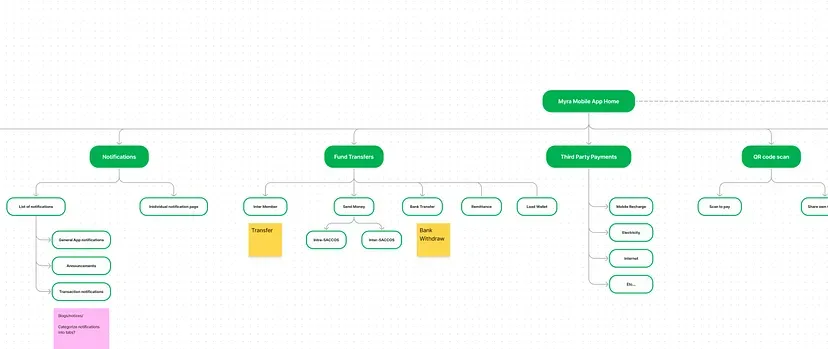
- User flow steps:
The flow of the screens must now be decided. What screen comes before which, in what order, and where they lead are all important considerations.
Example:
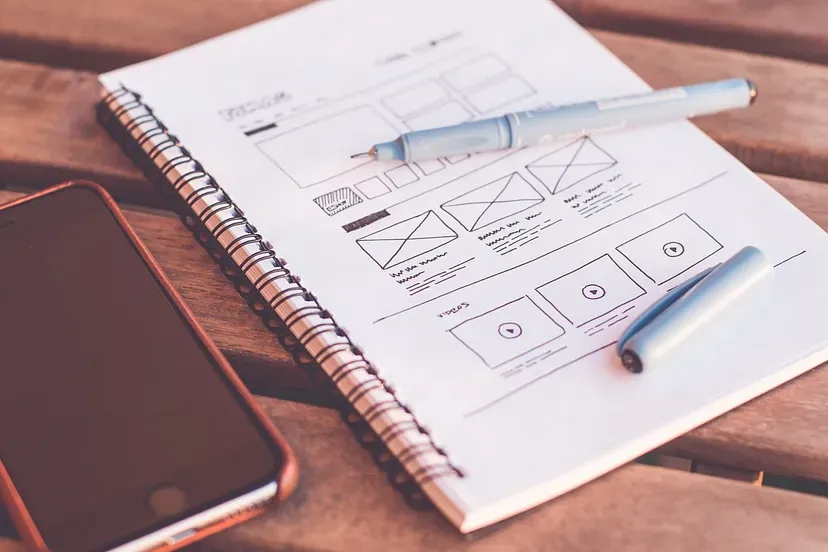
- Wireframes:
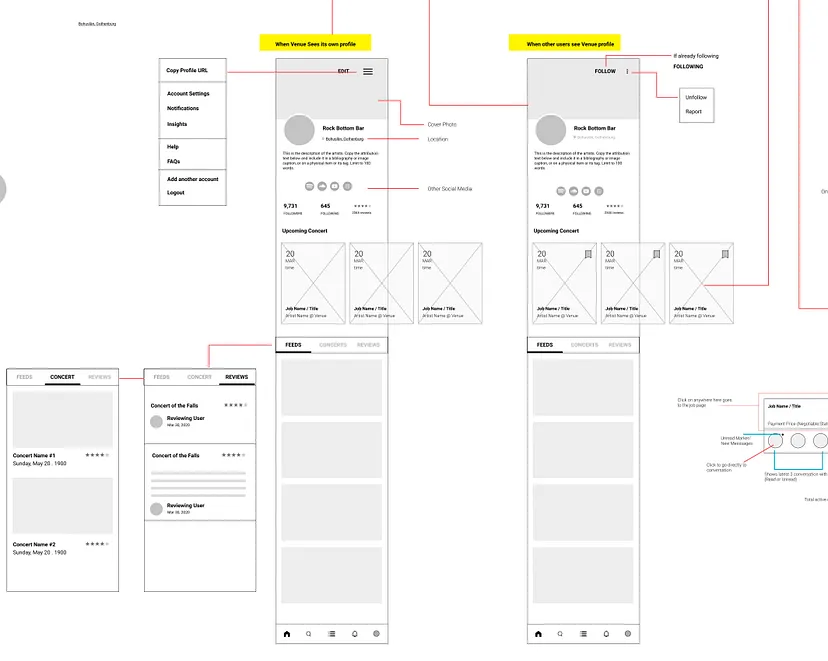
That’s a graphic representation of the previous two steps. Consider this a storyboard for your app. In terms of grouping and ordering, it adds more structure and dynamics.
You can first sketch it out on paper and then move to diagram tools like draw.io and whimsical.
These tools will help you make a definite sketch. We’re focusing on maximizing usability and making the app as simple to use as possible at this stage of the app development process. This boils down to deciding what should be displayed on each screen and how the user interface elements should be arranged.
5. Graphic design
You’re making a graphic design that represents the final product’s appearance. It can be used in presentations to persuade potential investors or partners to invest or partner with you. The graphic assets can be used by developers to integrate them into their projects. The work you do in this step will have a significant impact on the app’s user interface and user experience (UI/UX). For designing graphics these tools and sites will help you:
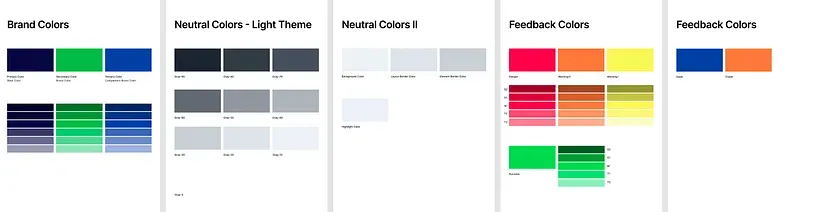
- Color palette:
Choosing a color palette for your mobile app is a crucial step of the design process. You should be aware of the color that represents your brand and the app’s vibe. You can get an idea of what might work best for you by looking at other similar apps. Here are some apps with color palettes we made at RARA.
To make your color palette, you can use Colours.oi , Adobe color or Paletton, etc.
- Typography:
Since apps are mostly dedicated to mobile phones, you must choose the right fonts, arrangements and size. You can look for inspiration on Pinterest or an inspiration feed.
There are also some guidelines you can follow.
- Layout:
You can also hire a freelance designer for this part but if you want to do it yourself, you can design your app using platforms like Photoshop, Gimp, or Figma. You can also use specialized software such as CorelDraw or Inkscape. You can also buy pre-designed app graphic templates but those are very common and overused at this point.
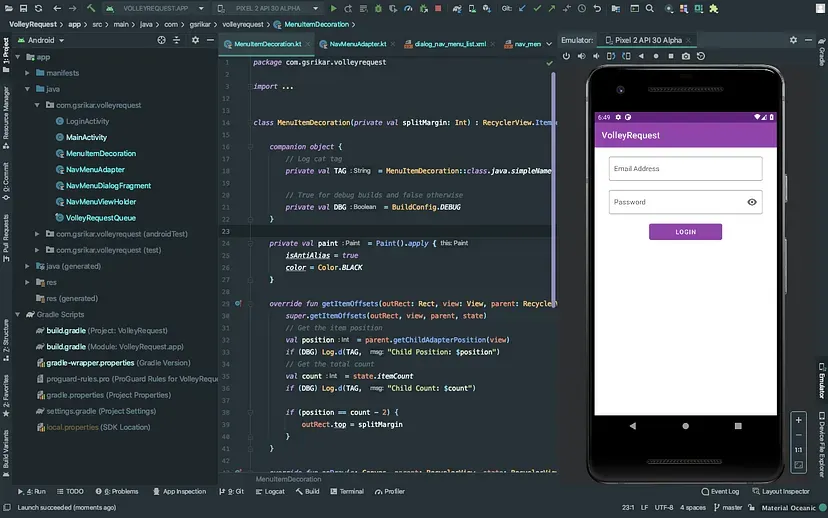
6. Build an app
We’re now bringing your app to life. You have two options for developing your app: learn to code and build it yourself or hire a developer. Hiring a developer will also assist you with the concept and design of your app. It will assist you in achieving better results. It’s always better to have two heads than one. However, there are a few things to keep in mind when looking for the right developer for your app. If you are thinking of hiring a developer, click here.
Or watch this video: Getting the perfect developer for your app
If not an individual or a freelancer, you can outsource your work to IT development firms just like us, RARA Labs. With 15+ years of experience, we at Rara labs have been building apps from the ground up (just like you).
Since you have decided to build it yourself, there are 2 ways you can approach it:
- Learn to code:
There are certain things you need to consider like what technology is required, language to use, database, host, and server. You must learn about frontend, backend, APIs, deployment of the server, etc. You can find many articles and videos on How to code for apps on the internet. Like this one How to code for app. - For beginners.
Flutter and Reactnative are the most popular platforms for both iOS and Android app development.
Individually, android apps are written in Java/Kotlin, whereas iOS apps are written in Swift.
Specify native app and hybrid apps
Progressive web app
- Use existing tools:
There are numerous sites dedicated to app development that are ideal for beginners. You can use WYSIWYG app builder platforms that are easily available on the internet. They even have drag-and-drop tools so you don’t have to learn how to code. This is a lot easier, takes less time, and requires little to no coding.
Once your app is ready, make sure you check and recheck for bugs and errors.
You can always seek RARA for advice, even if you are making it yourself. You can contact us through our website if you have any questions about the app development process. We’d be more than happy to help you out.
7. Submission of your app
Now that your app is ready for the world, you should submit it to the play store and app store. You can get easy instructions from these articles to do that:
How to submit your app to the Google Play Store?
How to submit your app to the App store?
There are certain guidelines you need to check bef ore you go ahead and submit your app to the app store. You can read about these guidelines here.
Voila! It’s done. Now take a seat and unwind. Or, you could also begin marketing your app and informing more people about it. Once your users have downloaded your app, they will undoubtedly tell you about their experience and provide feedback. From there, it’s a never-ending cycle of working on and updating your app to meet the demands of your users. But hats off to you for not giving up and making your app.